I have recently been working with a client, assisting them with their OCP rollout and part of the delivery was to assist them with the backup all of the projects in their cluster/s. The simplest way to do this is by using the OADP Operator.
OADP (Openshift APIs for Data Protection) is an operator in Openshift, provided by Red Hat to create backup and restore APIs. It can be used to backup and restore cluster resources (yaml files), internal images and persistent volume data. I won’t go into the all the nitty gritty of OADP/Velero, more detailed information is provided here and here.
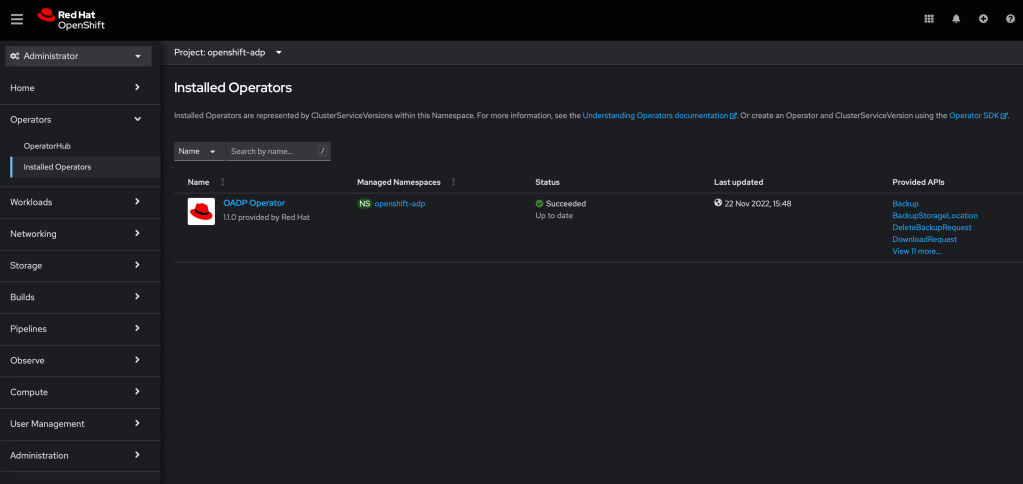
Installing the OADP Operator.
Let’s start with installing the OADP operator – which is really simple in Openshift. In the OCP console, click on Operators, search for the Red Hat OADP operator and install it. It will take a few minutes, but once done, the operator is ready and installed in the openshift-oadp namespace.
Setup Object Storage
It’s a good idea to setup the object storage you would like to backup to, before getting started with the OADP configuration. There are lots of examples, and over time, I will add additional storage providers, such as Azure/GCP/AWS/ODF. You can also use a private object storage platform, using Minio – but for this example, I will be backing up to a cloud based provider, Wasabi.
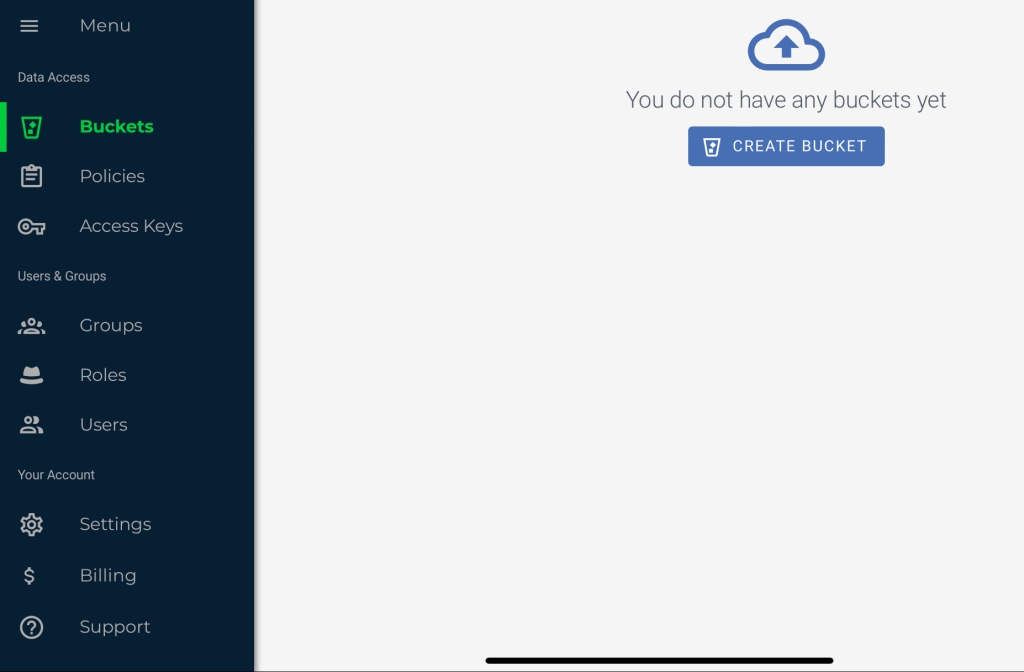
Wasabi – create bucket and access key
I have chosen Wasabi for this example because I like the interface and the pricing. There are plenty other providers which can also be configured and used in the same way.
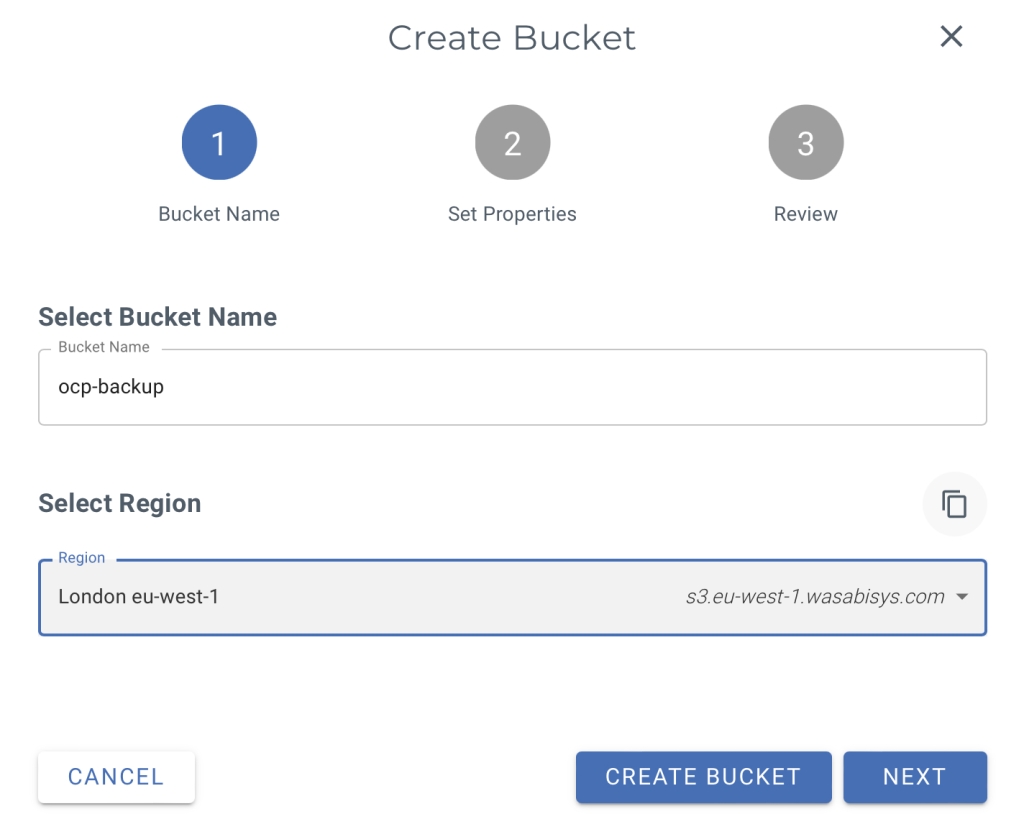
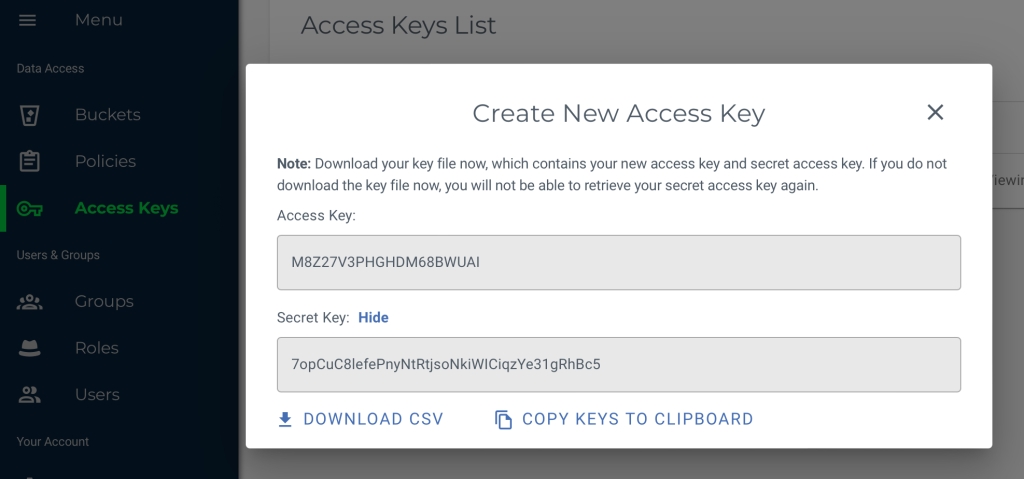
Wasabi provides AWS ‘S3 type’ object storage and as such, the provider is configured in OADP as being ‘aws’ – but we will get to that later. First thing is setup an account in Wasabi. Once that is done, create a bucket and create an access key. Make sure you make a note of the bucket name and SAVE THE ACCESS KEY CREDENTIALS SOMEWHERE SAFE!
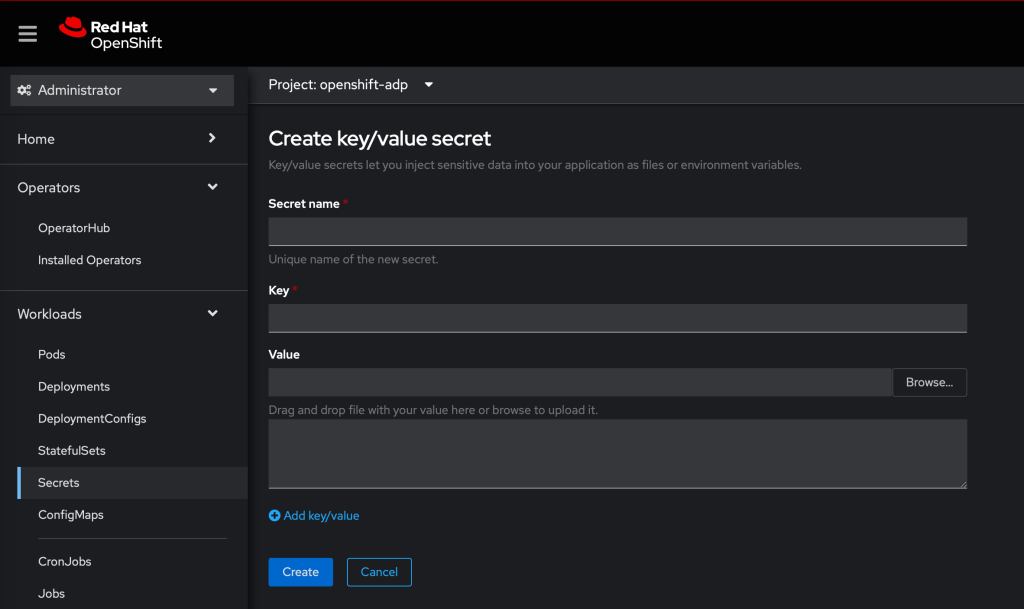
Create cloud-credentials secret
Now that you have the access key and secret, created in the previous step, the next thing to do is to create the cloud-credentials secret in Openshift. Securely store the credentials in a file in a similar manner as below:
$ cat << EOF > ./credentials-wasabi
[default]
aws_access_key_id=<AWS_ACCESS_KEY_ID>
aws_secret_access_key=<AWS_SECRET_ACCESS_KEY>
EOF
Then create the secret using the oc command :
$ oc create secret generic cloud-credentials -n openshift-adp --from-file wasabi=credentials-wasabiAlternatively, you can this using the OCP console, in administrator mode. Ensure that you are in the openshift-oadp workspace and then navigate to Workloads -> Secrets -> Create New Secret.
Create an instance of the Data Protection Application & Backup Storage Location/s
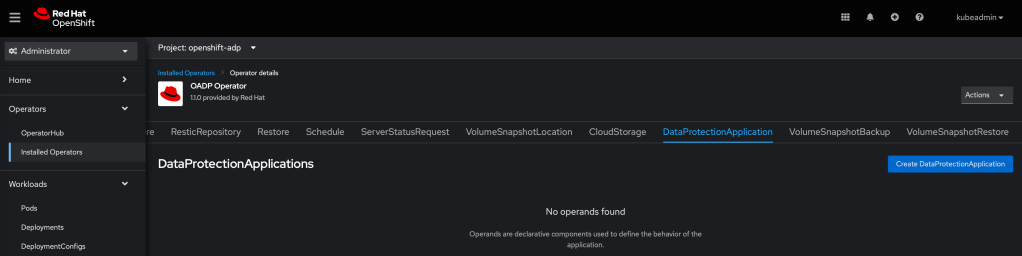
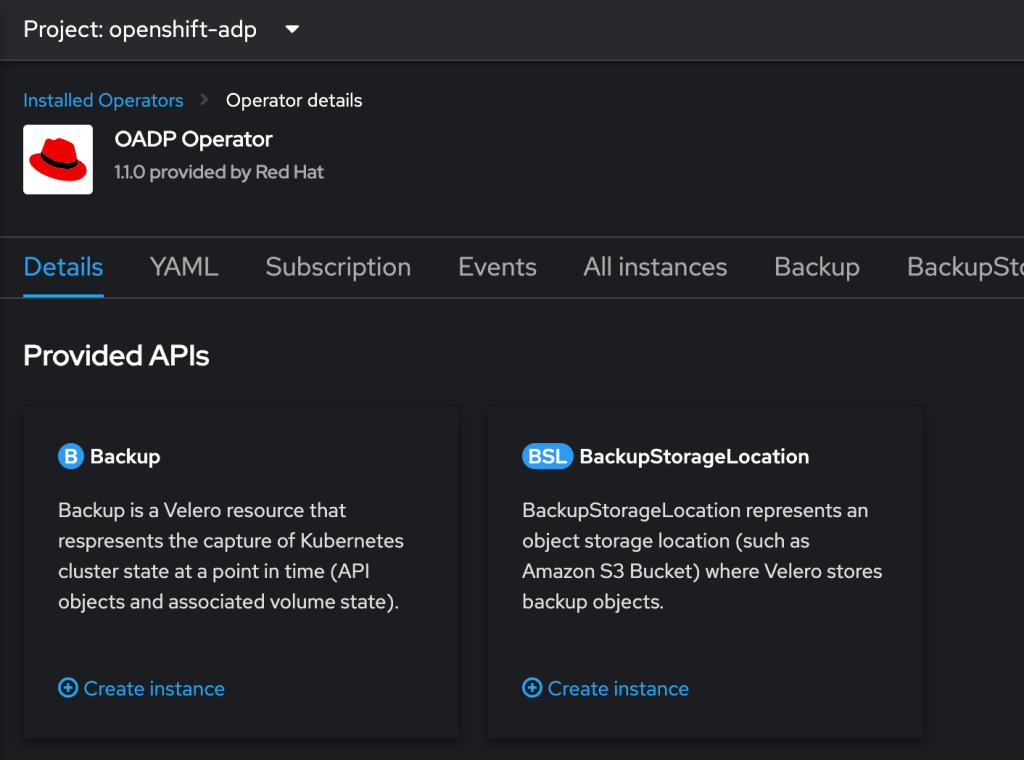
Log into the OCP console, switch to administrator mode and navigate to : Operators -> Installed Operators. Click on OADP operator. From the menu at the top, select DataProtectionApplication and click ‘Create DataProtectionApplication‘
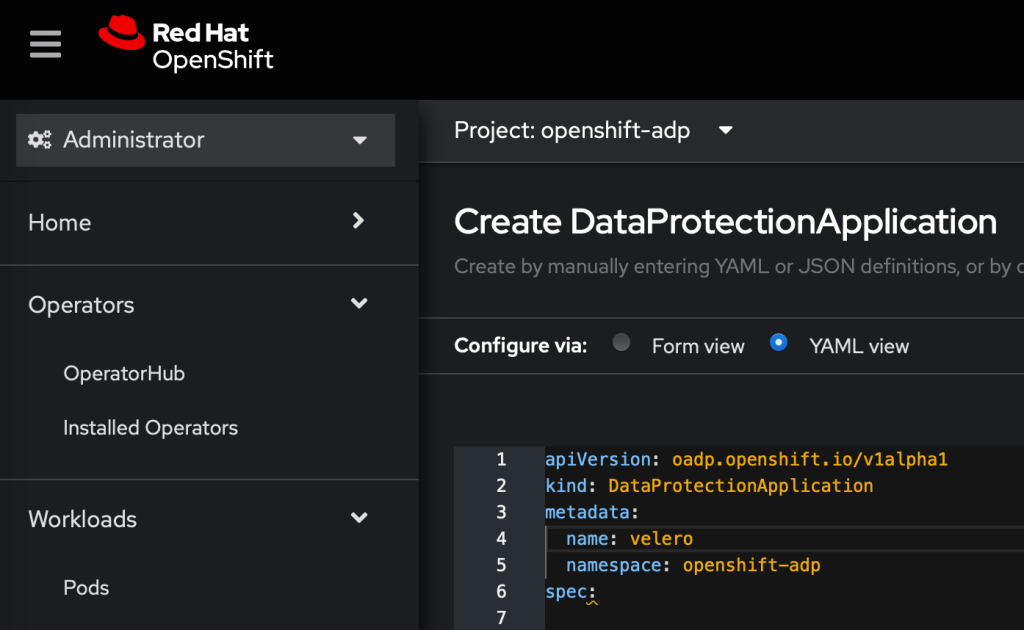
At this point I find it easier to switch to the YAML view and edit the configuration
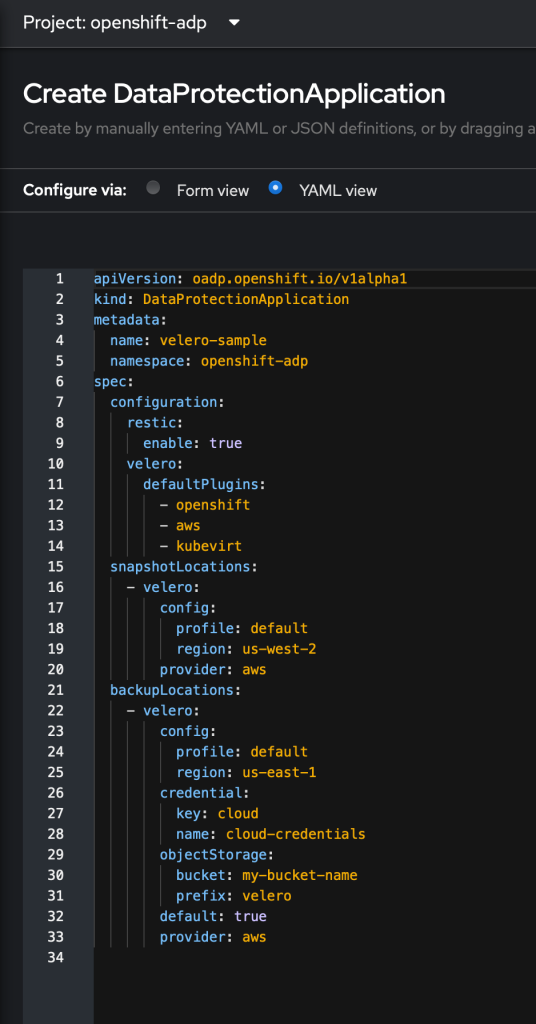
Replace the name to something you prefer and remove everything below the spec: directive.
Underneath the spec: we can set the configuration:
kind: DataProtectionApplication
apiVersion: oadp.openshift.io/v1alpha1
metadata:
  name: velero
  namespace: openshift-adp
spec:
  configuration:
    restic:
      enable: true
    velero:
      defaultPlugins:
        - openshift
        - aws
        - kubevirt
  backupImages: true
  backupLocations:
    - name: wasabi-s3
      velero:
        config:
          profile: default
          region: us-east-1
          s3ForcePathStyle: 'true'
          s3Url: 'https://s3.wasabisys.com'
        credential:
          key: wasabi
          name: cloud-credentials
        default: true
        objectStorage:
          bucket: ocp-backup
          prefix: velero
        provider: aws
  snapshotLocations:
    - velero:
        config:
          profile: default
          region: us-east-1
        provider: aws
This part is the configuration, which sets up the default plugins and enables restic backups any pod volumes. For this example, we are backing up to s3 storage, therefore the aws plugin is required. Other plugins are used for different storage types : azure, gcp etc. The backupImages specifies if you wish to backup images or not.
The next part of the configuration is the backup location. Here I have configured a backup location to use the wasabi s3 object storage that I setup earlier. The region and s3Url must be configured to as per the provider’s configuration.
The configuration is set to use the cloud-credentials secret and retrieve the access and secret data from the key named ‘wasabi’ – which I created earlier.
The next parts of the config defines the object storage configuration – set the bucket name, any prefix folder you wish to use and the provider – in this example, aws.
Lastly, I want to setup the location for snapshot backups.
Click ‘Create’
This can also be done using the oc command:
oc create -n openshift-adp -f oadp.yamlWe now see the created application:
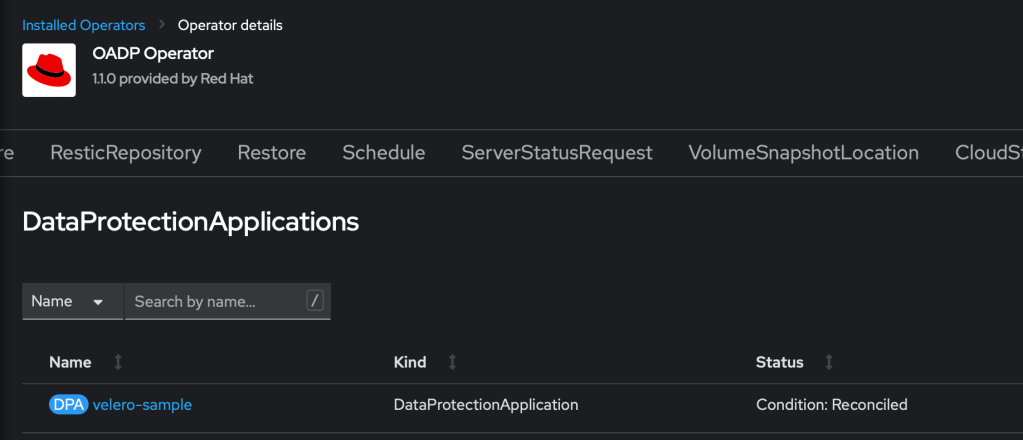
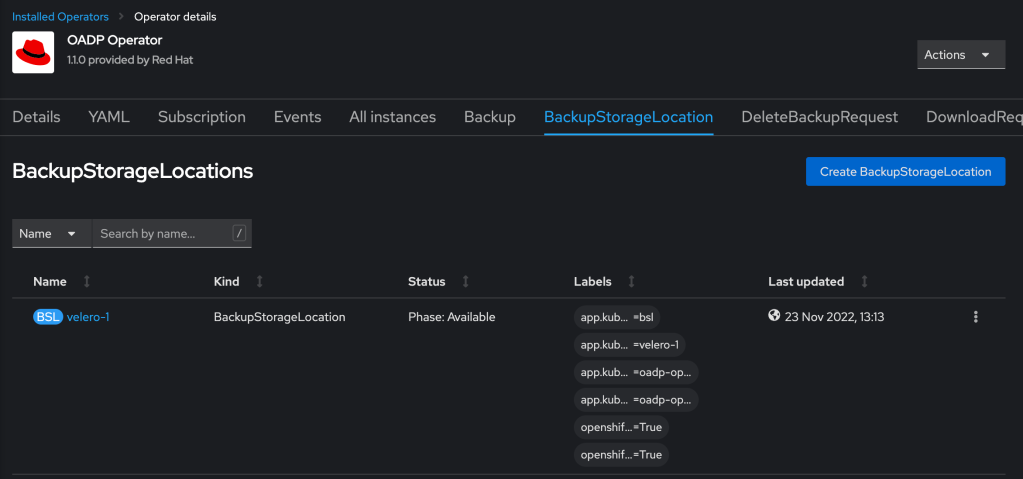
Check that the status is ‘Reconciled’ and then click on BackupStorageLocation. There will be a configured storage location, which was configured when setting up the DataProtectionApplication
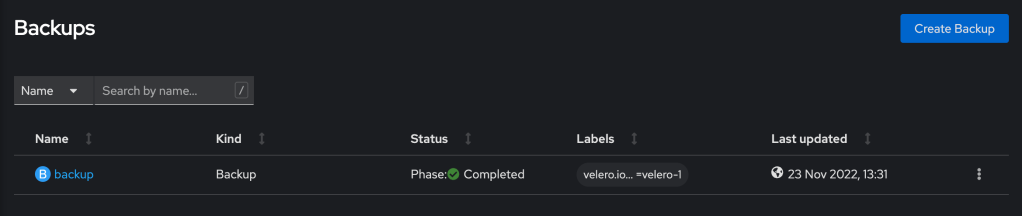
Create a Backup!
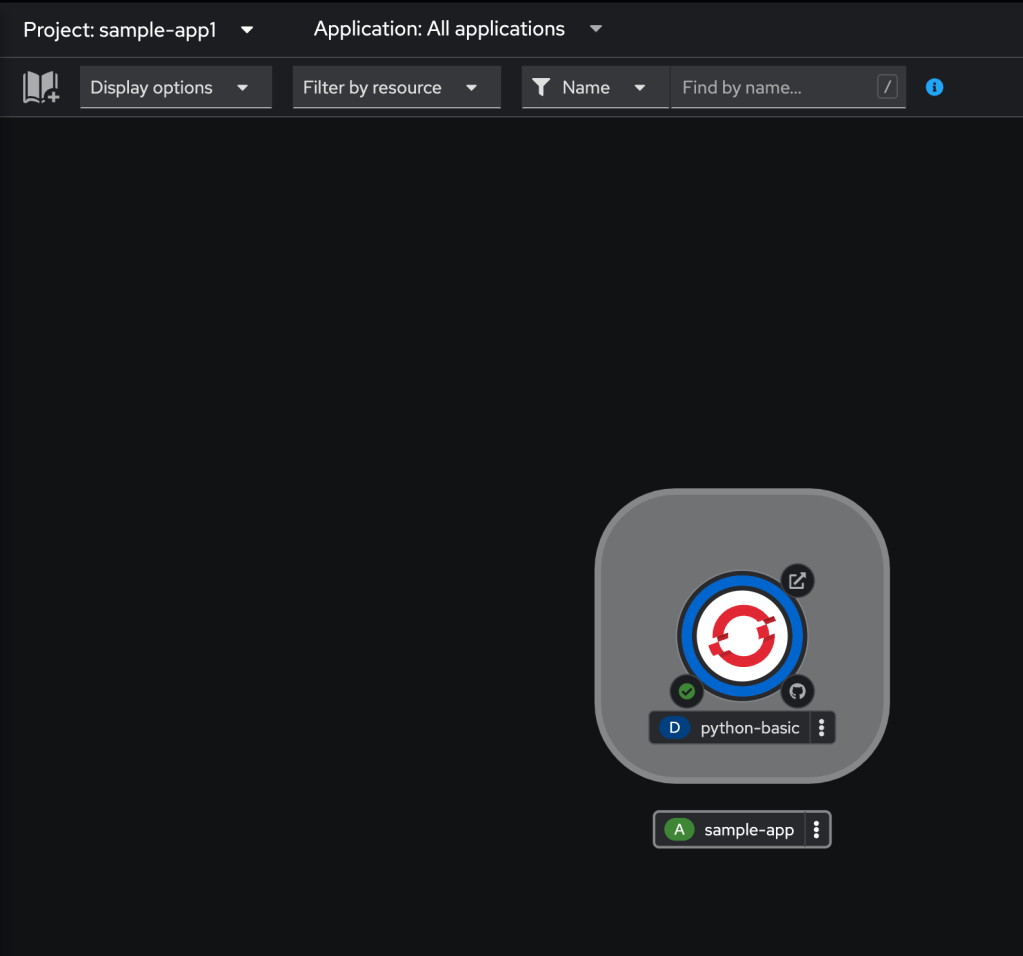
We are now able to backup a project / namespace! In the example here, I will backup an application – in this case, I am using the python-basic sample application, which is running in the sample-app1 project.
To execute a backup – return the OADP operator and create a backup instance.
There is a form which can be used to configure the backup, or select the yaml tab and edit the yaml directly. In this example, I will edit the yaml to configure the backup as follows:
apiVersion: velero.io/v1
kind: Backup
metadata:
  name: backup
  namespace: openshift-adp
spec:
  includedNamespaces:
    - sample-app1
  defaultVolumesToRestic: true
  storageLocation: velero-1
It is quite a simple configuration to determine which namespaces should be backed up, whether to backup pod volumes and where to backup to. Upon clicking create, the backup will begin and the status will show ‘InProgress’ and if all goes well, it should then show as ‘Completed’
Restore Backup to Different Namespace
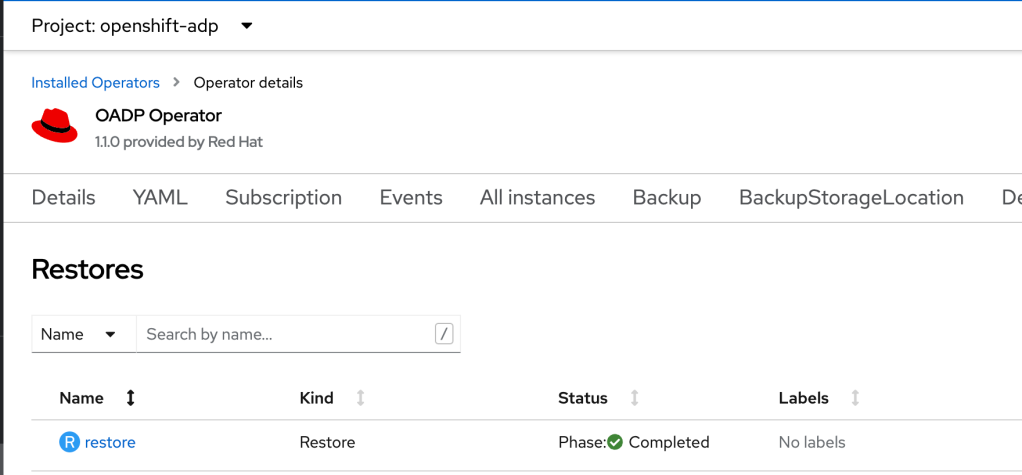
Now that there is a successful backup (and you can check in your S3 bucket to verify it is there), it is possible to conduct a restore. In this example, I will restore the backup to a different project/namespace – restored-sample-app1
Return to the OADP operator and click on Restore and then select ‘Create Restore’. Again here, there is a form to complete or switch to yaml view, for consistency, this example will show the yaml config
apiVersion: velero.io/v1
kind: Restore
metadata:
  name: restore
  namespace: openshift-adp
spec:
  includedNamespaces:
    - sample-app1
  namespaceMapping:
    sample-app1: restored-sample-app1
  backupName: backup
Again the configuration is quite simple – select the backup name of the backup we created, include the namespace (if left blank it will restore all namespaces) and the interesting bit is the namespaceMapping – we want to restore sample-app1 to restored-sample-app1. Click create. Again, the status will show ‘InProgress’.
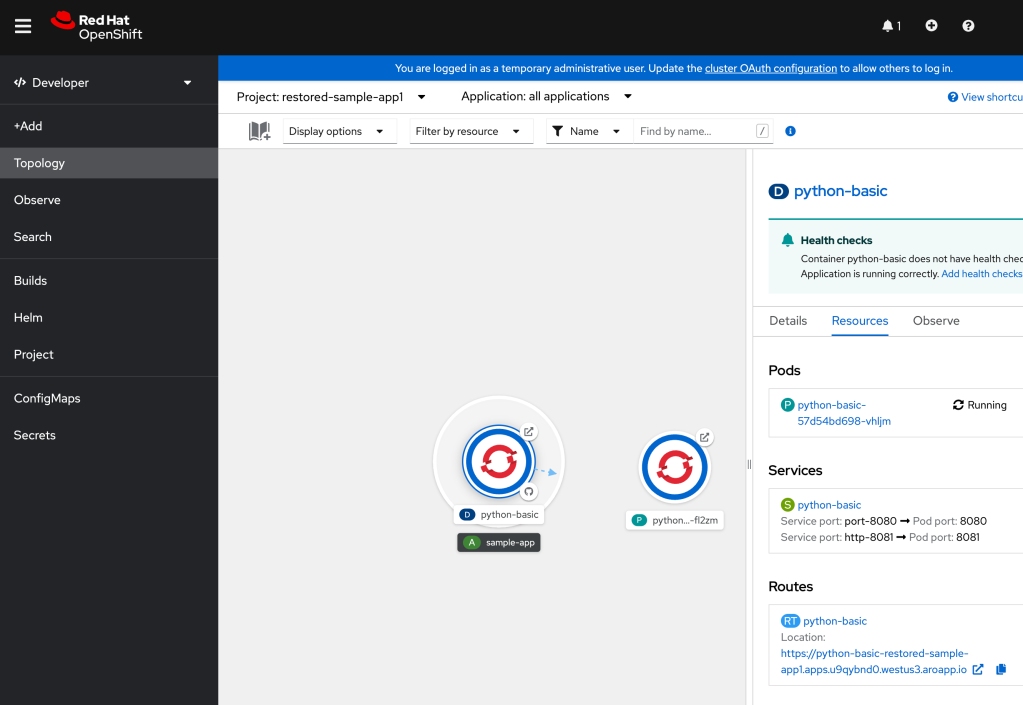
At this point, it is possible to change to the new namespace and switch to developer view, to view the progress of the restore.
Scheduled Backups.
For obvious reasons, you may not want to be conducting manual backups, so a good option is to create a schedule to fit your backup requirements. Navigate to the OADP operator and click on the Schedule tab and click Create Schedule. Again, there are options to either complete the form or edit the yaml. I prefer to edit the yaml:
apiVersion: velero.io/v1
kind: Schedule
metadata:
  name: daily-backup-1am
  namespace: openshift-adp
spec:
  schedule: 00 1 * * *
  template:
    defaultVolumesToRestic: true
    includedNamespaces:
      - sample-app1
    storageLocation: velero-1
The schedule configuration is fairly straight forward – it uses cron notation to determine when to backup. There are also options to backup up volumes, as was present in the backup configuration, earlier. The remaining configuration items are the namespace/s to backup and the location to backup to.
This schedule will run at 1am every day, backing up the sample-app1 namespace to the velero-1 backup storage location.
Conclusion
The above demonstration shows how to create and restore backups in Openshift, using the OADP / velero operator, to a S3 cloud storage provider (Wasabi). The demonstration also highlights how to restore to a different namespace, on the cluster and how to run backups periodically, using a schedule.
One last note/thought to consider when doing backups is that secrets are not encrypted. So it is highly recommended to use a storage solution / provider that provides data @ rest protection.
Feel free to add any comments / corrections / suggestions! If you found this helpful and would like to buy me a coffee, I would greatly appreciate it!

